|
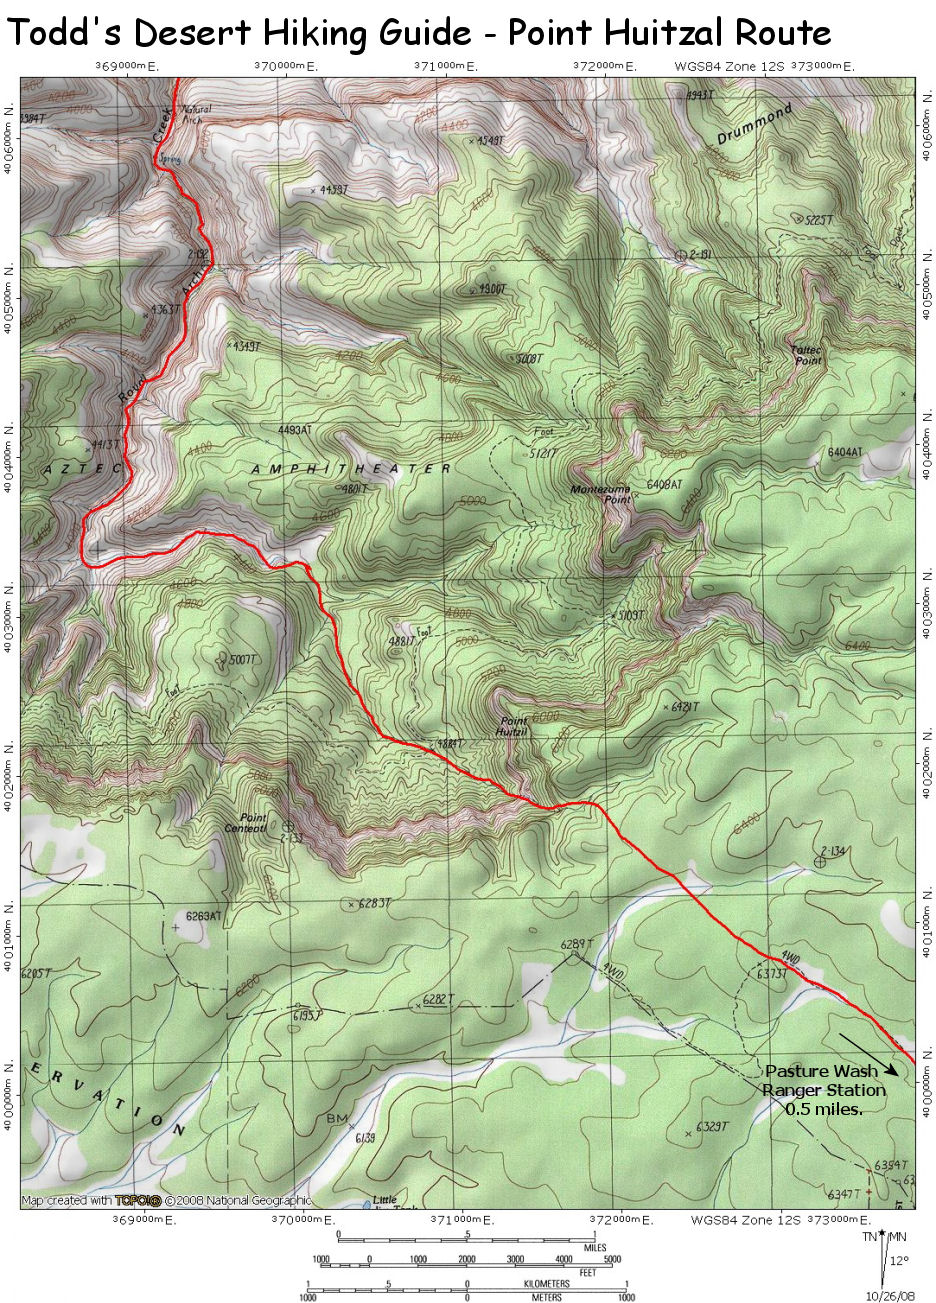
From the ranger
station walk back out to the main road, then turn right onto a closed road.
Follow this road until you reach an old phone line, then leave the road and
follow the line cross country. The goal is to head in a northwesterly
direction towards gps point: UTM: 12S 371939 mE, 4001710 mN WGS84 Datum at
the rim of a minor drainage. Work your way down into the drainage via the
path of least resistance, then turn left and head down canyon. You will soon
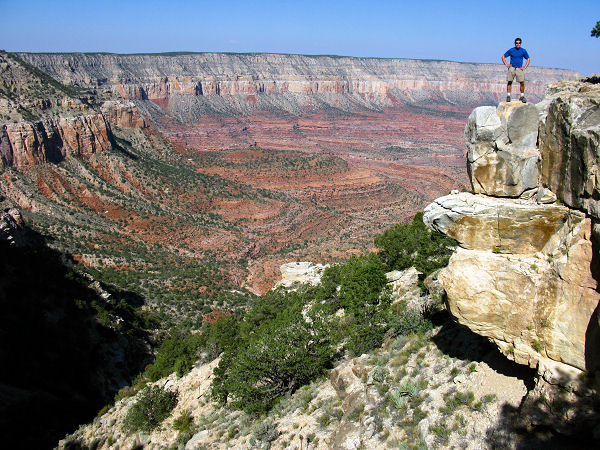
reach a large dry fall overlooking the Grand Canyon.
Walk to the right
a short distance to identify a break in the cliff. Climb down this break and
follow the somewhat faint hikers trail (marked infrequently with cairns)
down the steep, loose gravel slope to the top of the Toroweap Formation.
Follow the trail to the right, past 2 stone towers. Once past the towers
scan the base of the cliff face below you and to the right to locate a small
Anasazi ruin. The route travels down to these ruins.
With the route
identified, work your way to the right, towards the cliff, then down a
series of Toroweap ledges to near the ruins (UTM: 12S 0371446 mE, 4002000 mN
WGS84 Datum, which are worth a short side trip). When ready proceed down to
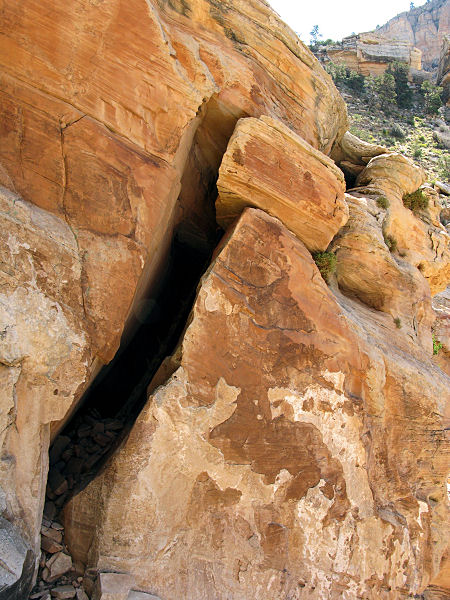
a group of tilted Coconino Sandstone slabs. Scan the edges of the slabs for
a subtle notch – the notch is the key to this route (UTM: 12S 0371401 mE,
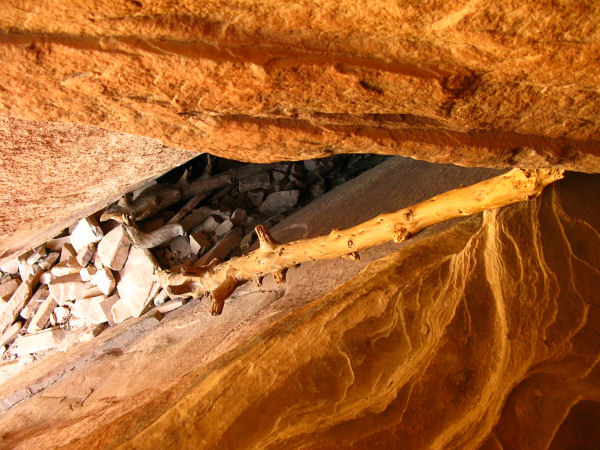
4001991 mN WGS84 Datum). When you locate this notch walk up to it and look
down. You’ll see that it’s possible to climb down at this point into a small
tunnel. The tunnel leads beneath the sandstone slab to an old Anasazi ladder
made from a log with steps cut into it. Climb down the ladder and out onto
the slab below.
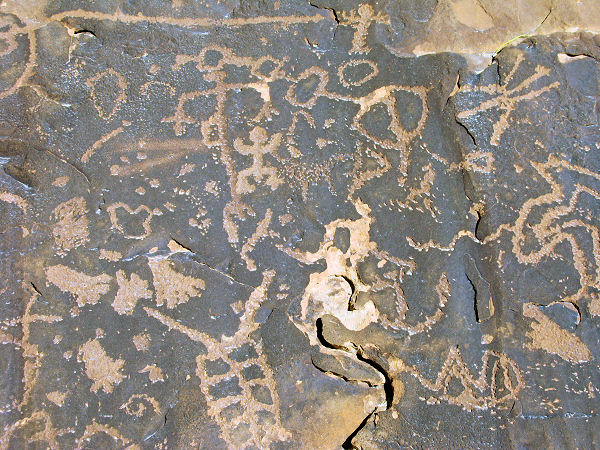
Walk to the right
along the cliff face to identify a well preserved petroglyph panel. From the
panel, the path heads down, then swings to the left. It soon heads down once
again on a very steep section in which moki steps have been chopped. From
here, the path takes off to the right remaining up against the cliff face
for some distance to reach a break in the Coconino. The path simply heads
down through the break (on loose gravel once again) towards a prominent dark
red ridge that can be seen far below. The route eventually travels down the
spine of this ridge to drop into the Royal Arch drainage.
The walking now
becomes considerably easier as you simply travel down the dry, rocky wash.
There is no real trail for the majority of this section (a few cairns every
now and then), however, you can't get lost since you just follow the stream
bed. Do not expect to make quick time through this section, the rocks and
climbing involved make for slow going. After passing the cairned point
marking the Tonto Trail, you'll come to a pour off a short distance later.
This may be passed by following a cairned route on the right hand side.
After some additional rock hopping you'll arrive at a very large dry fall
and your first exciting climb. According to the Forest Service "This can be
passed on the left side via a trail with some exposed climbing. A fall here
could result in serious injury or death." A path also exists on the right
which requires a short crawl to complete (though I have never taken this
route). Follow the cairns along the left side of the drainage until the
trail seems to disappear. The climb described is really a traverse of 10-15
ft along a 4" ledge, one for your toes and one for your fingers (how
convenient!). The traverse is not technically difficult, however, the fact
that you'll die if you slip will probably get your heart racing a little
(especially with the weight of your pack pulling you back from your little
perch). Take a deep breath, make sure you have a good grip and scoot along.
There is one other shorter traverse, after which the trail descends the
scree slope back to the relative safety of the canyon bottom.
Continuing down
canyon, a dry fall created by a large chokestone is eventually encountered;
this may be down climbed on the right side by handing down packs. Lower in
the drainage you may encounter two deep pools. These may be bypassed by
traversing a bench on the left. Get back into the creek bed using a series
of ledges. Further down canyon you will encounter cairns leading up the east
(right) side of the drainage. This marks the standard route to the river and
will be the path taken on the return from Elves Chasm.
Continuing down
canyon, water soon appears and the canyon narrows as you enter the Muav
Limestone. Small drop offs form several charming grottos and pools. Good
climbers will be able to keep their feet dry by using ledges on one side of
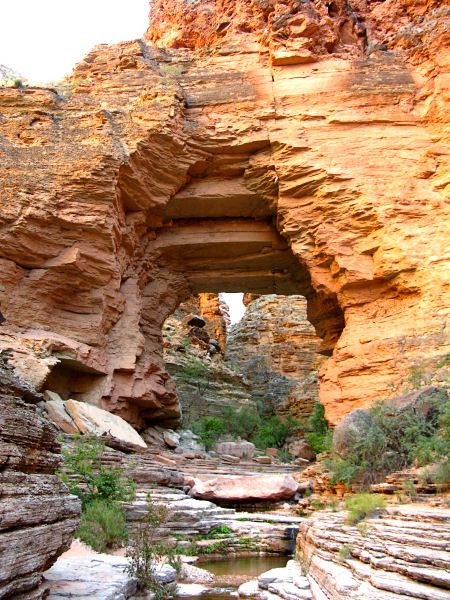
the canyon or the other. After 0.5 miles Royal Arch comes into view, good
camping is available on the many flat ledges.
Use this as a
jumping off point for further exploration or retrace your steps to the rim
at Point Huitzal, then cross country back to the Pasture Wash Ranger
Station.
|

